Fun Science Projects for Kids
Whether you need homeschool science activities or a science fair idea for school, here are some easy, at home science projects for kids to educate and entertain.
The root of science is about the exploration and discovery of how the world works and why. Kids are natural explorers, daring to climb trees and imagine new worlds. Family science projects are perfect to encourage your child’s love of learning.
How to Make Elephant Toothpaste
Elephant toothpaste oozes rather than explodes. The foam you’ll create consists of soap, oxygen, and water. While it is completely safe to touch, it’s not for brushing teeth!
Elephant Toothpaste Experiment Materials
- A clean 16-ounce plastic soda bottle
- 1/2 cup 20-volume, 6 percent hydrogen peroxide liquid
- One packet of dry yeast
- Warm water
- Liquid dish washing soap
- Food coloring
Directions
First, place the bottle in the middle of a pan to catch the overflowing foam toothpaste. Mix 1 tablespoon of yeast in 2 tablespoons of warm water, and set aside.
In the bottle, mix one-half cup of the 6 percent hydrogen peroxide, which will work the best. You’ll find this at a local beauty salon or in the health and beauty section at the grocery store. Also add a squirt of dish soap and five drops of food coloring to the bottle.
Get ready for the foaming toothpaste action. Add the yeast mixture and back up! Ask the kids what would happen if you change the proportions. Then, test their hypotheses.
Hydrogen peroxide is known to break down into oxygen and water. Catalase, an enzyme in living things, is present in the yeast. This makes the reaction happen quickly. Dish soap makes the big bubbles happen by catching the oxygen. This experiment is an exothermic reaction, which means it releases heat energy.
The Old Standby – Baking Soda Volcano
The baking soda volcano is a right of passage when it comes to science projects. Plus, parents can find most of these ingredients in the pantry.
Vinegar is an acid and baking soda is a base. When mixed, these cause a chemical reaction that creates carbon dioxide. The CO2 bubbles up, builds pressure and explodes, pushing the liquids up as it goes. The explosion happens because of the compressed gas inside the bottle.
Baking Soda Volcano Materials
- Plastic/paper cup
- Paper plate
- Aluminum foil
- Scissors and tape
- Cookie sheet
- 2 tablespoons of water
- 2 tablespoons of baking soda
- 4 tablespoons of white vinegar
- Red food coloring
Directions
Tape the cup to the middle of the paper plate with foil, which will also wrap around the plate. On the top of the foil cup, cut an X and tape those edge to the cup interior. You’ve made a volcano. Place the volcano on the cookie sheet.
Place the baking soda, water and drops of red food coloring into your cup. Carefully pour in the vinegar and watch the eruption happen!
Glowing Exploding Bag
Combine science and art with the glowing exploding bag experiment. Essentially, you get the same explosion as the first experiments, but with more color. This is also a good way to recycle / reuse plastic zip bags.
Materials
- Homemade glowing vinegar
- Used zipper seal bags
- Baking soda
- Poster board
- Toilet paper
- Cornstarch (optional)
Directions
To make the homemade glowing vinegar, you’ll mix glowing paint and vinegar. Cornstarch makes the vinegar more like paint, but you don’t have to do this. Pour the glowing vinegar mixture into the zipper seal bags. Fill them with as much or as little liquid as you want.
Place baking soda in the middle of toilet paper squares. Fold the squares into a ball to secure the baking soda inside to make the paint bombs.
Cover the yard with poster board and have fun. Toss the bombs into the bags and watch them burst in the glowing exploding bag. This is a more colorful version of the reaction you get with the baking soda and vinegar volcano.
Sweet Rock Candy
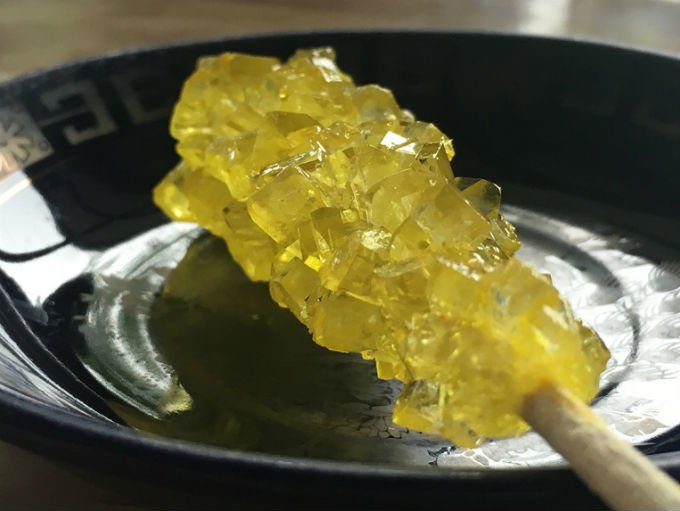
Kids will learn how rock crystals form and get a sweet reward! Depending on how much rock candy you want to make and how many jars you have, some ingredients will vary. Two pieces per jar is perfect, with a typical ratio of 2 cups of sugar for 1 cup of water. A bit more sugar may be necessary.
Materials
- Wooden skewers (cut in half)
- Water
- Sugar
- Clothespins
- Glass jars/drinking glasses
Directions
4 cups of water and 4 cups of sugar is a good place to start. Place these into a larger saucepan, and watch the mixture expand as it boils on medium-low heat. Add sugar a little at a time until it all dissolves. Let the mix cool for 15 minutes.
Soak the sticks in water and coat them with sugar to help the crystals stick. Let them dry before you dip them into the sugar solution. Pour the sugar solution into the glasses or jars.
Add food coloring now if using it. Carefully insert the skewer into the sugar solution, held in place by a clothespin. The skewer shouldn’t touch the bottom. After a week in a sunny place, your child will have learned how crystals grow and eat a delicious treat.
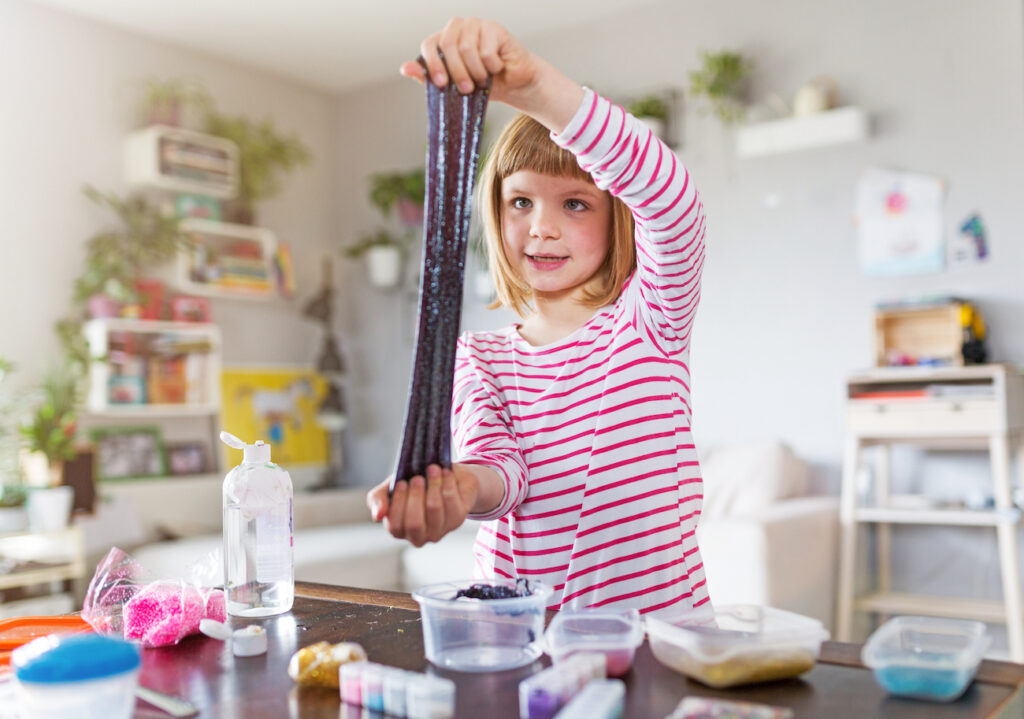
Gooey Glitter Slime
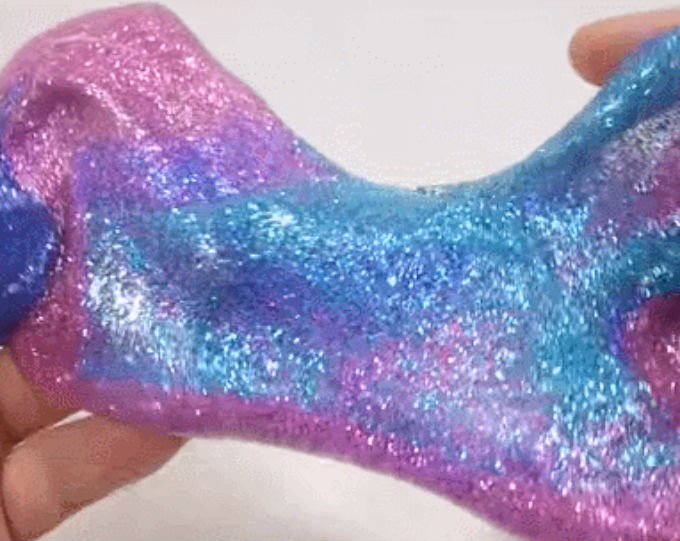
All that is goo and glitters is good in the eyes of a child. Up the classic science slime experiment by adding glitter and play with the proportions.
Glitter Slime Materials
- Water
- Epsom salts
- White glue
- Two small cups
- Glitter
Directions
In a cup, place a half a teaspoon of Epsom salt. Dissolve the salt by pouring in half a teaspoon of water. In a second cup, add half a teaspoon of water with a tablespoon of glue. Pour the water-salt combination into the second cup and stir it.
The science comes in with the discussion of states of matter. What is liquid like? Wet. What is a solid like? Hard to change shape.
7-Layer Density Column

Stacking Jenga blocks is a fine art. But it’s a true art of chemistry when you stack colored liquids into a seven-layer rainbow. For example, honey has a higher density than rubbing alcohol — so the honey will be on the bottom. This experiment demonstrates that every liquid has unique density.
Materials
- Seven plastic cups
- Clear glass cylinder
- Honey
- Corn syrup
- Dish soap
- Water
- Vegetable oil
- Rubbing alcohol
- Lamp oil
- Food baster
- Food coloring (optional)
Directions
Into each plastic cup, measure 8 ounces of each liquid. Add food coloring to the corn syrup and rubbing alcohol to give it a rainbow effect. Stack the following liquids on top of one another starting with honey.
Then add corn syrup, dish soap, water, vegetable oil, and rubbing alcohol in that order. Lastly, add the lamp oil. Pour each liquid slowly and let each layer settle before doing the next.
When you reach the fourth step, water, you’ll need a food baster. Let the water run against the side of the cylinder until done. You’ll use the baster in the same manner again for the vegetable oil. Once done, wash the baster and let it dry before adding the rubbing alcohol in. Rinse the baster and dry it again.
Lamp oil is flammable and will easily trickle out of the baster due to its low surface tension. Place a fingertip over the oil in the baster before you let it come out on top as the final layer. Go slowly and enjoy your liquid rainbow creation!
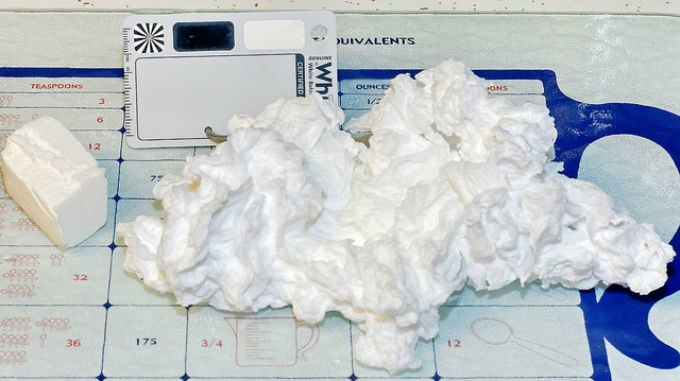
Fluffy Microwave Foam
It’s easy to make foam in the microwave. This process works by trapping gas inside structures that are cell-like. Foams include whipped cream, shaving cream and soap. When you heat soap, it softens, heating the air and water too. This creates water vapor and causes the soap expand.
As it expands, the soap becomes foam. No chemical reaction happens, but the soap’s physical state changes.
Materials
- Bar of Ivory™ soap
- Microwave-safe dish or paper towel
- Microwave oven
- Other brands of soap to compare (optional)
Directions
Unwrap the Ivory soap and place it a microwave-safe dish. Microwave the soap in a range of a minute and a half to two minutes and watch closely. The soap doesn’t typically grow if microwaved longer. Let the soap cool before touching it. Experiment with other soap brands and record your findings.
As you conduct these fun science projects for kids, ask them questions.
“What do you think will happen?”
“Did your theory work out — why or why not?”
Encourage them to take the lead when appropriate.
Most importantly, remember to have fun! These experiments are perfect for kids of all ages. Which experiments did your kids enjoy most? Let us know in the comments below!