Simple Homemade Healing Salve
This herbal healing salve recipe is one every family should have on hand. It’s the ideal safe, non-toxic option for skin issues. Plus it contains no unnecessary or harmful ingredients.
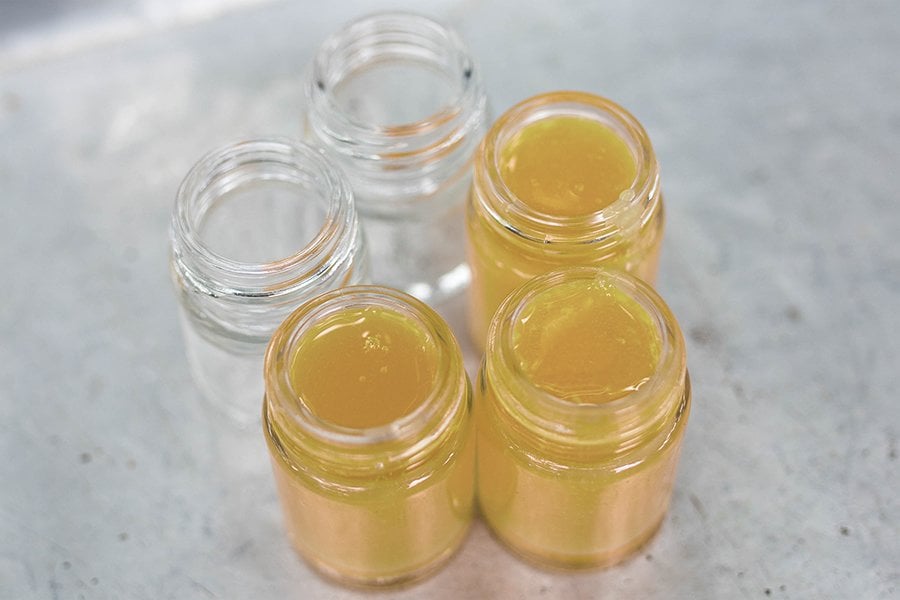
Table of contents
Making your own healing salve is an easy, inexpensive, and gratifying way to take care of your family. Keep it in your natural first aid kit so you always know where it is when you need it.
The trickiest part is getting the consistency right but with a couple of practice runs, you’ll get the process down. This is the best way I have found to make a homemade salve if you’re using essential oils.
Why Herbal Healing Salve is Better
This recipe is similar to our homemade first aid ointment. Both of these are healthier alternatives to petroleum jelly or triple antibiotic ointment.
Petroleum doesn’t promote healing. It’s derived from crude oil, and the European Union has banned many petroleum jelly products due to potential cancer links. It also has endocrine disrupting properties, meaning it can interfere with hormones and even cause neurological issues.
So, your safest option is to make your own so you know exactly what’s in it.
Healing Salve Recipe
This salve can be used for scratches, diaper rashes, bug bites, bee stings, hives, dry skin, and a variety of other skin conditions. It’s also easily customizable with other healing herbs or essential oils.
Here’s how to make salve in four simple steps.
Ingredients and Materials
- Double boiler (or two different sized pots or sauce pans)
- 3 or 4 small glass jars or tins
- 1 cup carrier oil (you can use coconut oil, good olive oil, jojoba oil, sunflower oil, or almond oil)
- ¼ cup (or 2 oz.) of beeswax
- Essential oil of your choice
- Labels
Directions
Heat the oil and beeswax together in a double boiler over very low heat, stirring occasionally, until the beeswax is melted.
At this point, you want to do a test to make sure you have the mix right. Take a tablespoon of the melted oil and beeswax, put it on a plate and let it sit in the freezer for about two minutes.
Check the sample for firmness. If you want a hard salve, add more beeswax. If you want a soft salve, add more carrier oil. Personally, I prefer soft salves because they’re easier to apply.
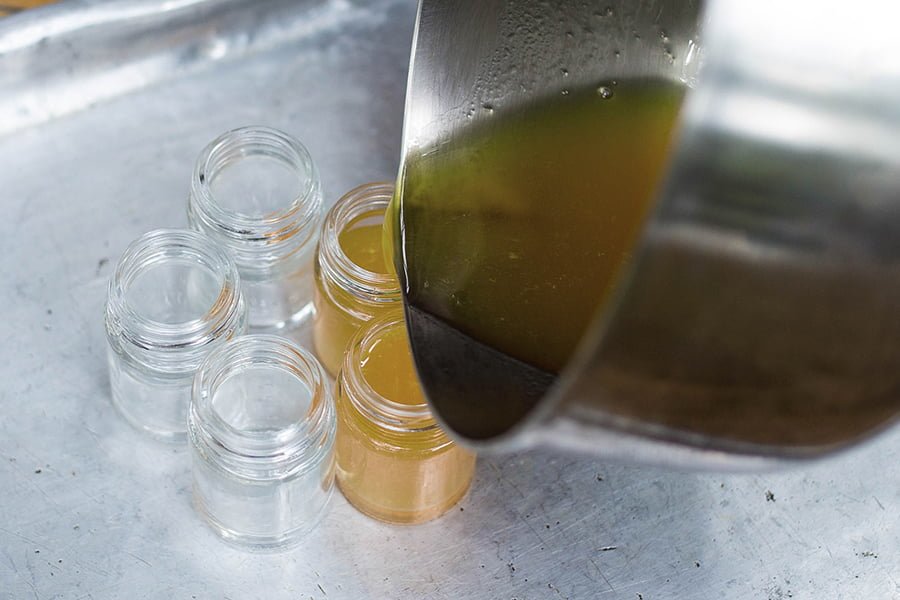
When the mix is the consistency you want, remove the oil and wax mixture from the heat. Add 2 or 3 drops of essential and pour the mix into glass jars or tins. It is especially important not to use plastic containers.
Label the jars or tins of salve, including the date you made it, and store in a cool dark place. Your homemade salve will last for several months if you store it properly.
Making your own salves with essential oils isn’t difficult at all with a little practice.
More Herbal Remedies
With these and all herbs, make sure you are getting them from a trusted source that sells only organically grown herbs. Always consult your doctor, naturopath or herbalist before you start a regimen with herbal remedies if you have any medical conditions, especially those that affect how your body metabolizes medications.
Herbal Remedies for Bruises
Homemade Elderberry Syrup
Homemade Herbal Vapor Rub
I used my crockpot to cook down my comfrey and plantain. Used “low” and coconut oil. I left it for 5 hours, then strained with cheese cloth. I added some essential oils. Did I cook too long and lose potency?
I just texted Susie. She said as long as the crockpot was on low, it’s fine. She said you could even keep it on low all night and it wouldn’t hurt the salve. Hope it’s helpful! I love the salve she made for my family 🙂